




How to run Sencha.io examples

1 min read17.9.2013
Although deploying and executing Sencha.io examples should be a basic operation, I faced some difficulties, when setting them up according to the existing documentation. There is a couple of details that I had to do in addition to complete the process successfully. Hence, I decided to summarize my findings in this articles. I hope, they will help you to start with Sencha.io faster.
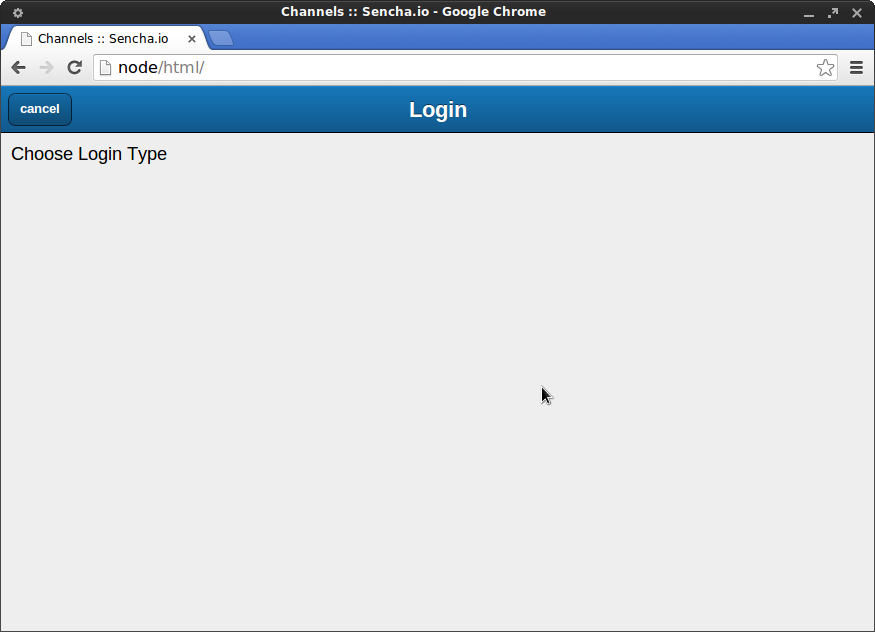
I got stuck on the “Choose login type” screen, when running the example application according to the docs (see Running the Application), even though I followed all the preceding steps. There was no button or login form, only blank space. The following helped me to work the issue around.
Introduction
You should know some of the Sencha.io fundamentals to make it work. Sencha.io is a cloud service which provides public APIs. You can manage the following using the APIs:
- Users
- Messages
- Data store
- Hosting for your app (as a randomly generated subdomain at senchafy.com)
These services are linked to the Sencha.io server. Your app can use them after you registered to the server and you provided the generated AppID from the server. There are three items you need to set up:
- Team
- Authentication Group
- Application
In short, Team is a database of application user accounts and user data, Authentication Group are methods of login to the database and Application is binding to your application created on e.g. file system or webhosting.
Required steps for running the examples
One of the ways to setup an application and generate the AppID is using the web interface of Sencha.io
manage.sencha.io
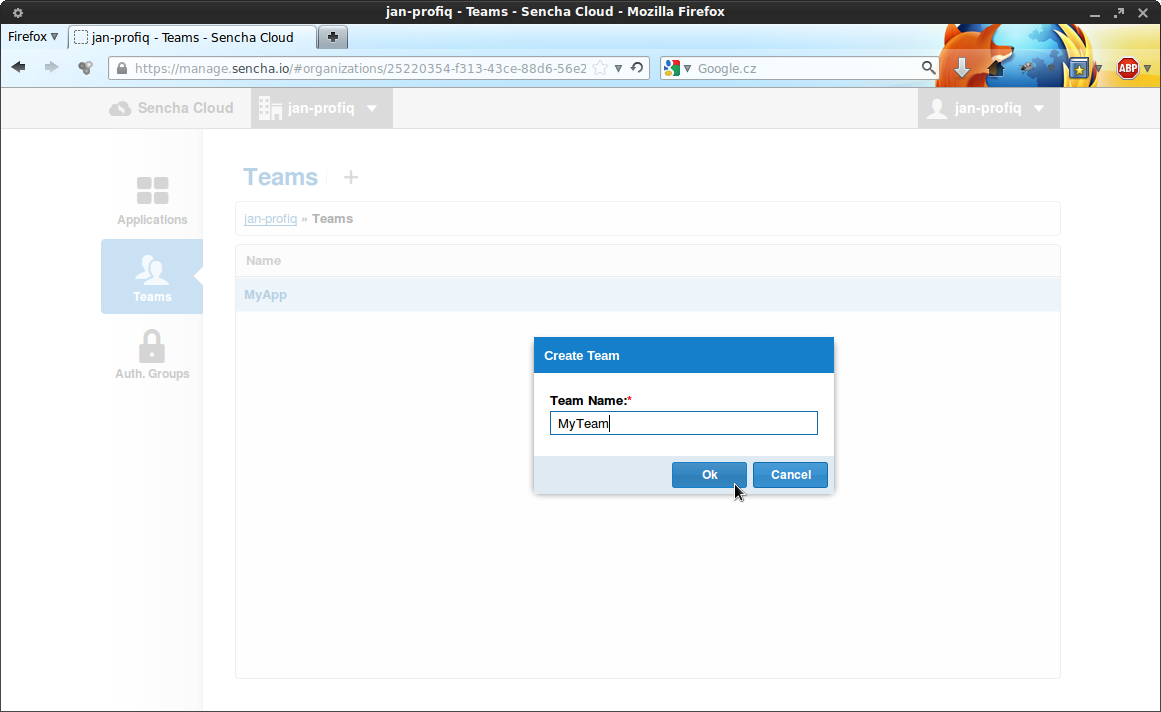
. If you don’t have a Sencha account (it’s the same account used for forum) yet, you can create there one too. You should find yourself in Applications tab once you log-in. Navigate to Teams to see and create one with a buttonclick on the + button and name it e.g.
MyTeam
.
We have set up a database for our users and log in methods. So, continue to the Auth. Groups tab and create a new one with Team =
MyTeam
, Group Name e.g.
MyAuthGroup
and Auth. Type “In application”.
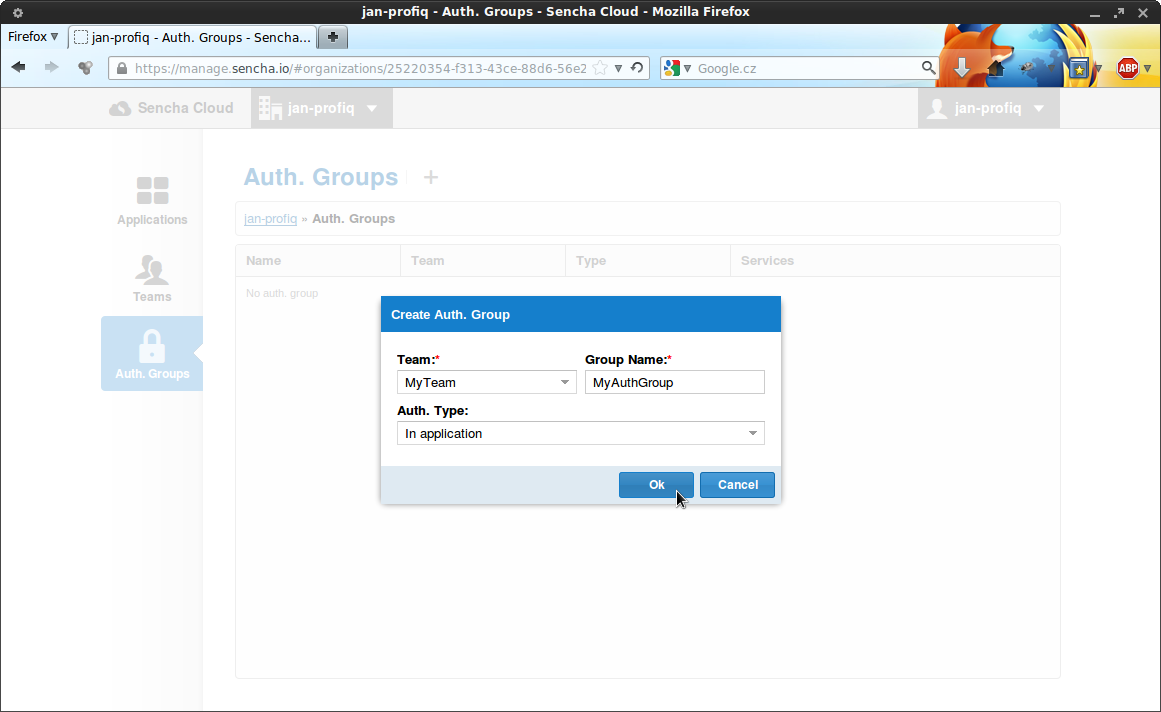
We have created an Authentication Group but with no possibility to log in. You might noticed that there is a Services tab on the page. We can set log in methods for this Auth. Group through this tab. You can use:
- Sencha.io
- Sencha Space
- GitHub
The easiest setup is for the first item, Sencha.io. Just enable Sencha.io through setting the Enable option.
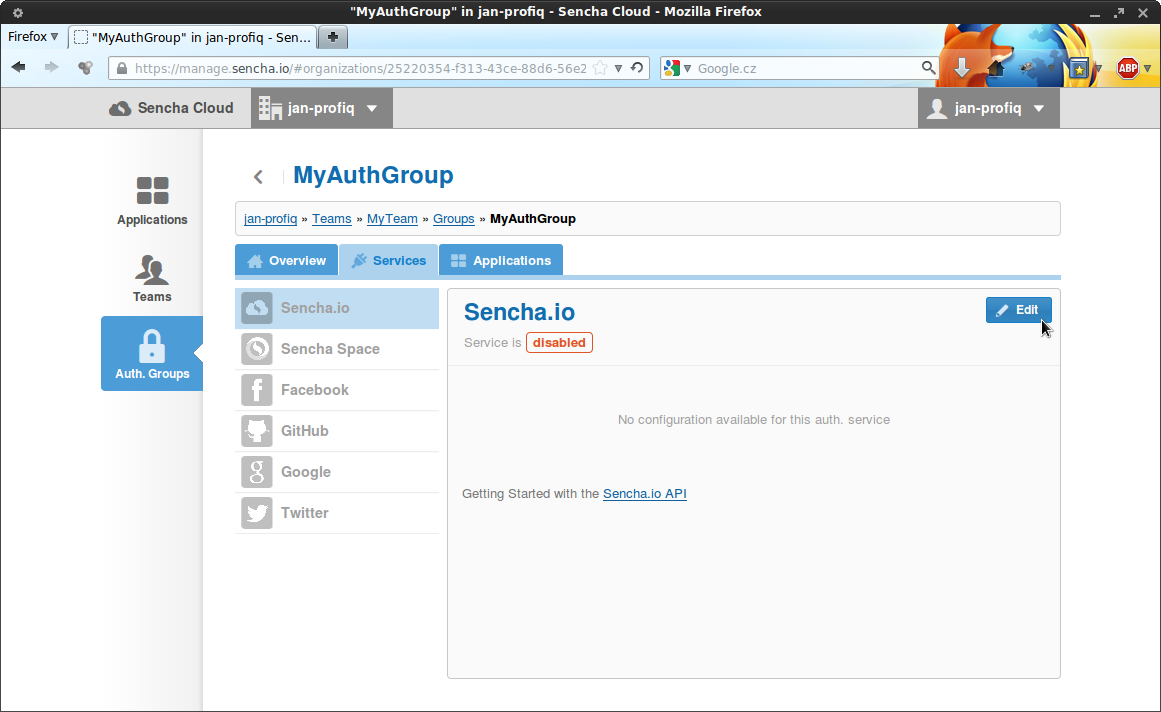
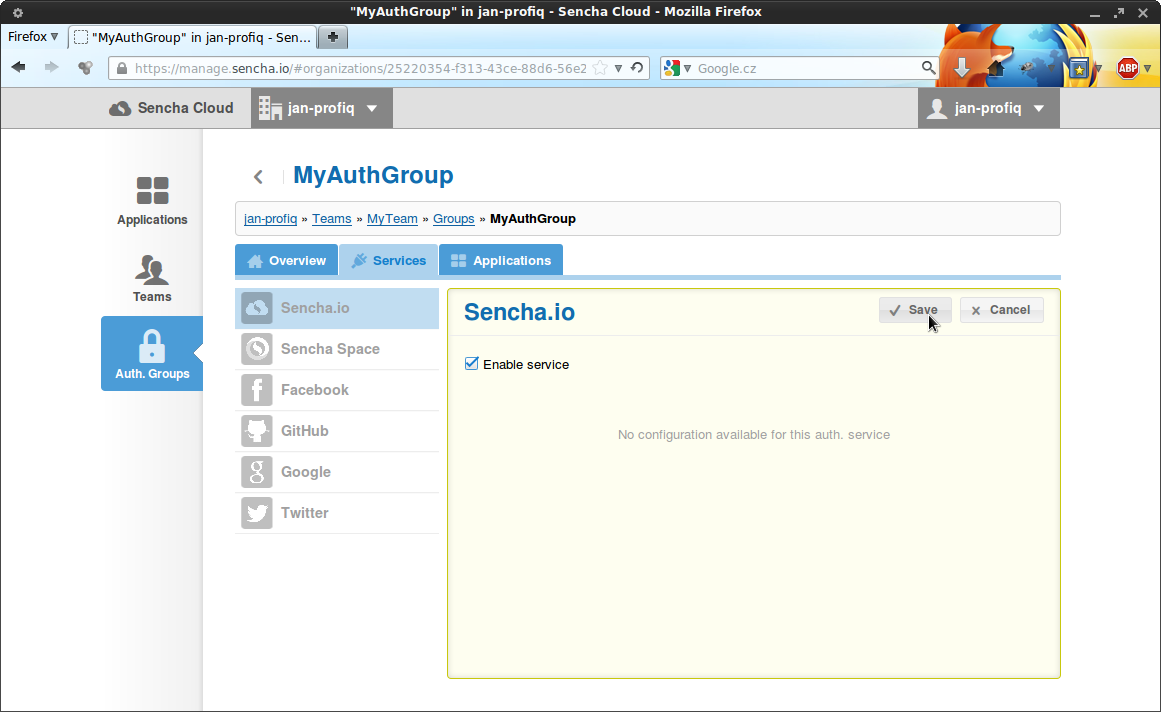
We have set up the Authenticatation Group, but it doesn’t belong to an App yet, so we need to create a new one. Navigate to the Applications tab, create a new application with
MyTeam
as the Team, use
MyApp
as the application name. You have been redirected to an overview of the
MyApp
.
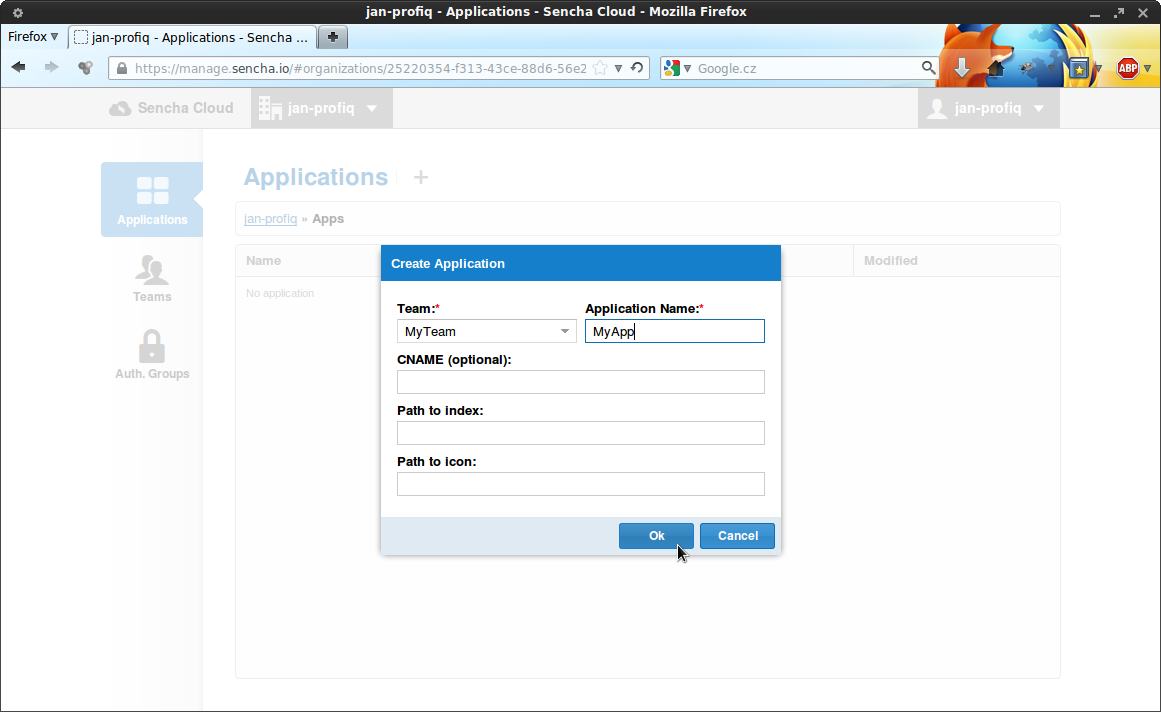
You see “No auth. group selected” in the bottom of the page now and a Change button next to it. Change it to
MyAuthGroup
.
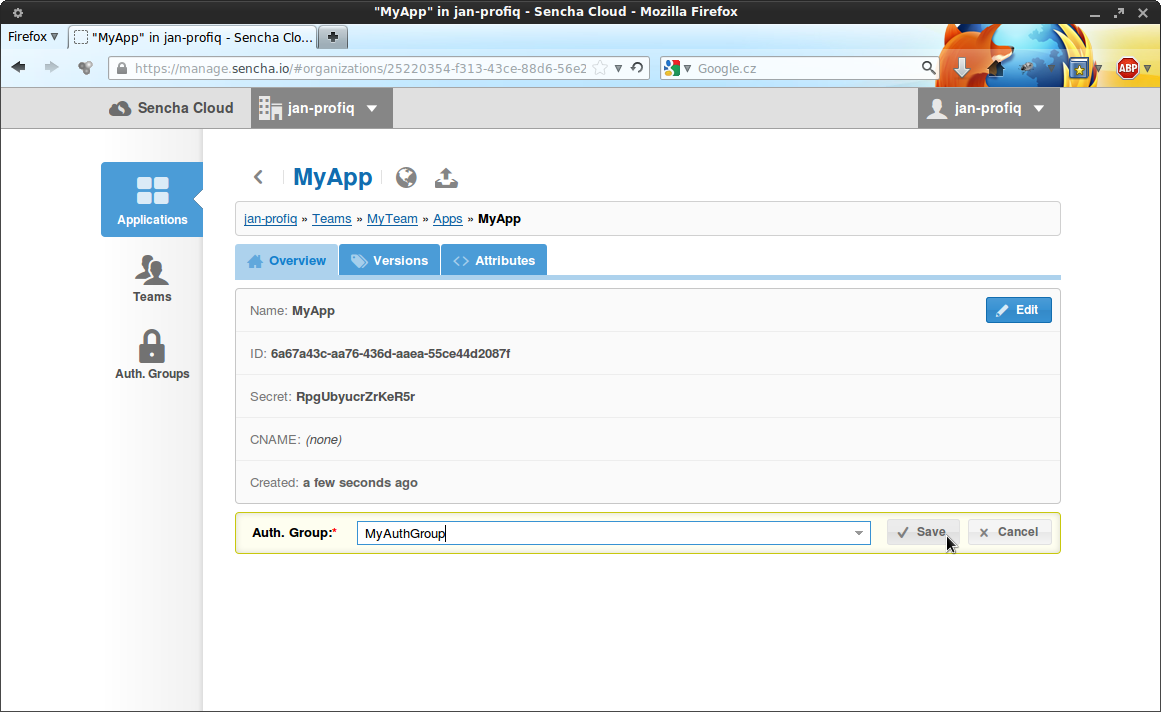
As I said before, the app you create is connecting with Sencha.io using AppID. You can see the one that you need in the overview tab now. We have completed all operations on
manage.sencha.io server
, let’s move to the directory where you can try to run the example. You need to change the AppID in the app.js file. Open the file and find
/*
 *  Add sencha.io app configuration.
 */
io: {
   logLevel: "debug",
   appId:"13d3e7eb-5b72-4dbf-a40e-d2a6a00bddcf"
},
and paste the generated AppID. Now you can try the example, if it works correctly. If you haven’t seen a change immediately, clear your browser cache and try again.
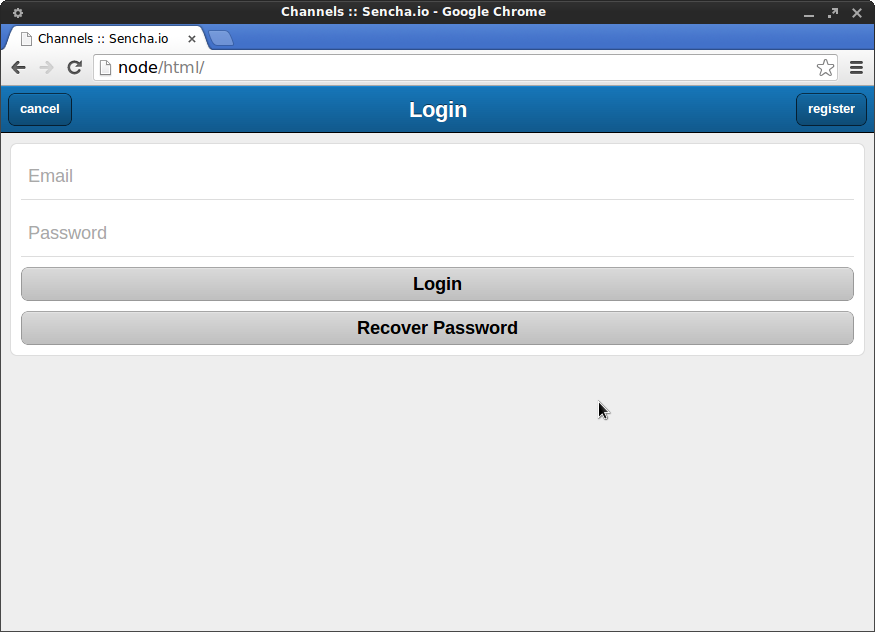
The
MyTeam
database is empty now, so you will need to sign up. You can do it using the R
egister
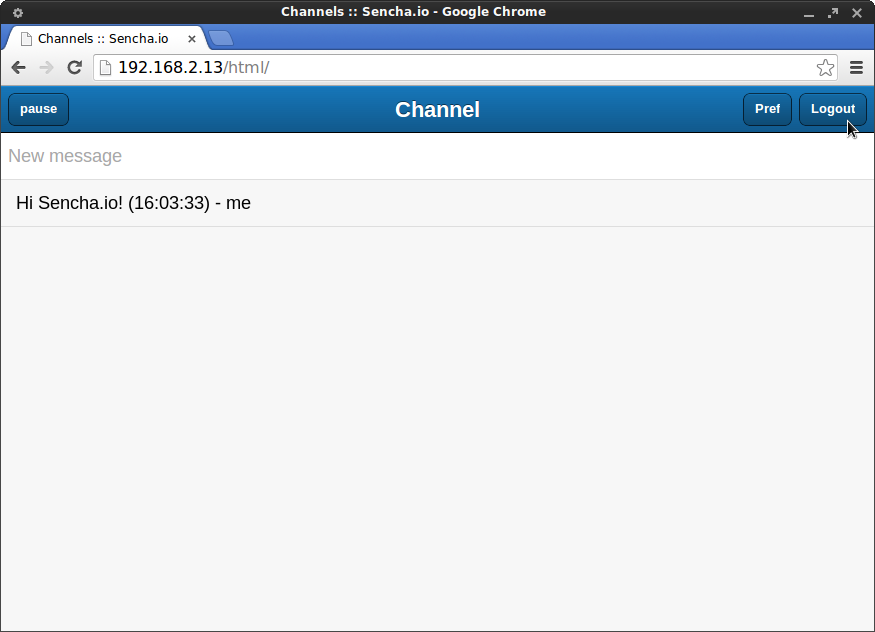
button at the top of the page and start using the functionality provided by Sencha.io.
Summary
Eventhough
docs
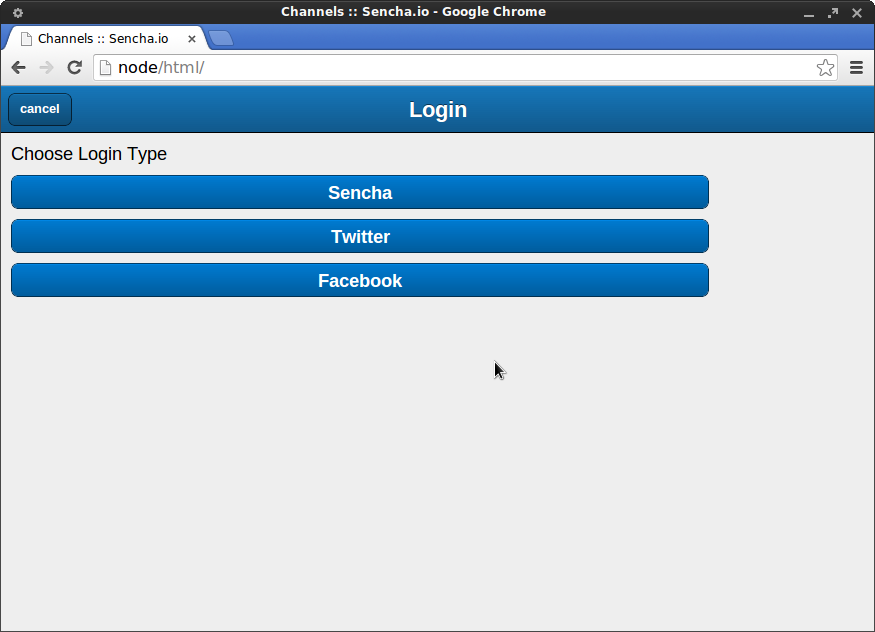
mention that a valid Sencha.io application id is included for each of the samples, those samples didn’t work for us until we re-configured Sencha.io and replaced the AppID with a newly generated one. That leads us to the conclusion that the provided AppID is possibly not actual or there might be a configuration problem related to that AppID. If you disable all services in the Authentication Group on
manage.sencha.io
for the AppID that you generate following this article, you will get the same screen as it is on first image. Anyway, we hope that you find the steps described to be useful. As a matter of interest: You can also try to add other authenticate services. In that case, you will see a button to choose a login type.