




OpenAM Session Upgrade: How To

6 min read25.11.2013
I gave a short overview of OpenAM Session Upgrades in a previous article. This is a follow-up that intends to describe the process of configuring it and discussing some of its implications. This blog was sitting back half done as a Draft for several months. It was originally written based on ForgeRock OpenAM 10.x . OpenAM 11 has been released since then. I’m finally finding the time for finishing and publishing the article. It should apply for OpenAM 10.x as well as OpenAM 11.
Initial setup
The configuration of Session Upgrade assumes that you have 2 different resources deployed within the same domain. This article is based on the architecture diagram included in the OpenAM Session Upgrade: Overview. I will assume that you have OpenAM installed, your web server installed (including resources res1/* and res2/*) and the OpenAM Web Policy Agents protecting resources installed too. You can use a J2EE Policy Agent to protect J2EE web applications pretty much in the same way. I however focus the following technical description solely on the case with a Web Policy Agent for the sake of simplicity. I will assume a single (top-level) realm to make it simple, although you can configure it for sub-realms as well.
Configuration step by step
- Log-in to the OpenAM console at http://openam.example.com:8080/openam/console, go to the Access Control tab and chose the Top Level Realm
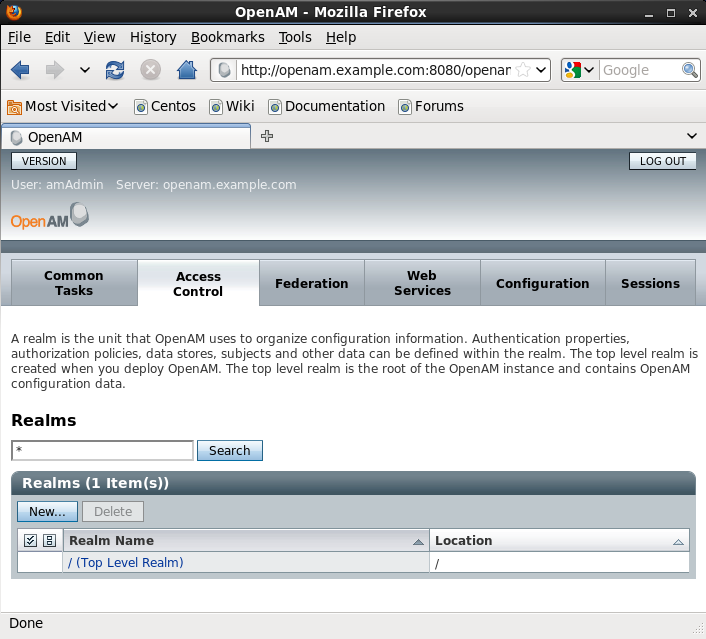
- Select the Authentication tab and go to the Module Instances section. You should have a DataStore Module Instance in the list by Default. Create one, if it is not there.
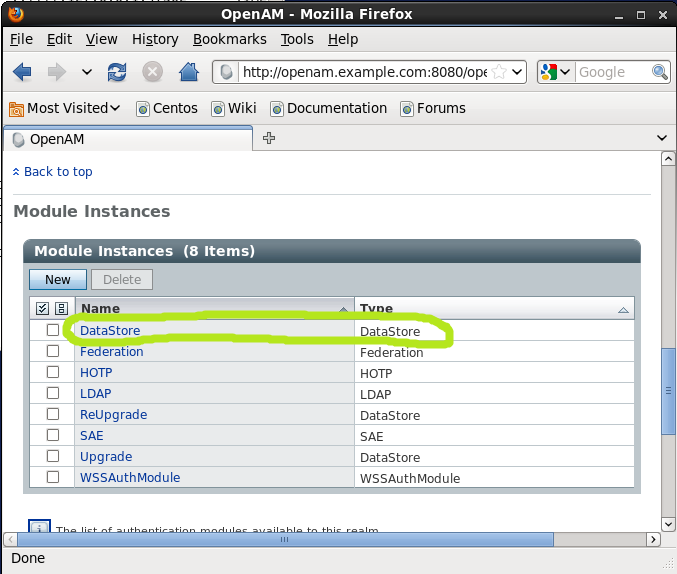
Click on it and make sure that the Authentication Level is set to 0 (zero) on the configuration page and go back to the Authentication page. I have chosen Data Store just for the sake of this demonstration, because it is a pretty common module. You could choose another type of Module Instances.
- Go to the Authentication Chaining section and click New to create a new authentication chain. Name it for example DataStoreChain and add the DataStore module as REQUIRED to the table at the top. Save it.
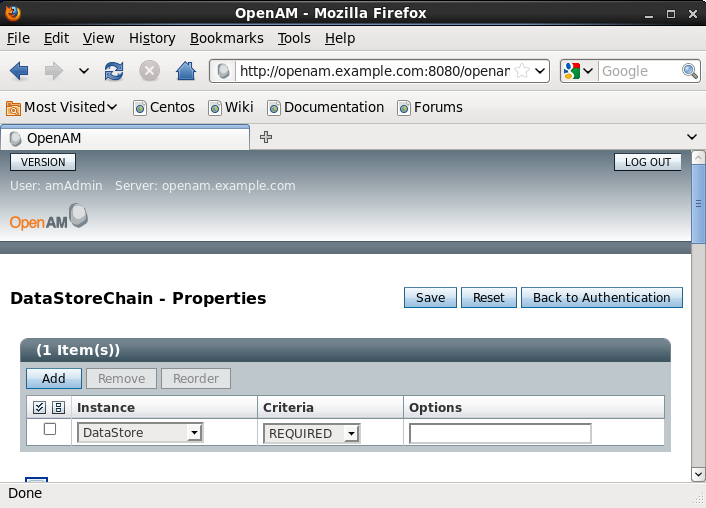
Go back to the _Authentication page and assign the chain you just created to the Organization Authentication Configuration and click Save it._
-
Go to the Module Instance section and create a new Module Instance called Upgrade, for example of a type LDAP. Click New, name it Upgrade, select LDAP as the type and press Save. Press the Upgrade Module Instance that you just created and set its Authentication Level to 1 and Save it.
-
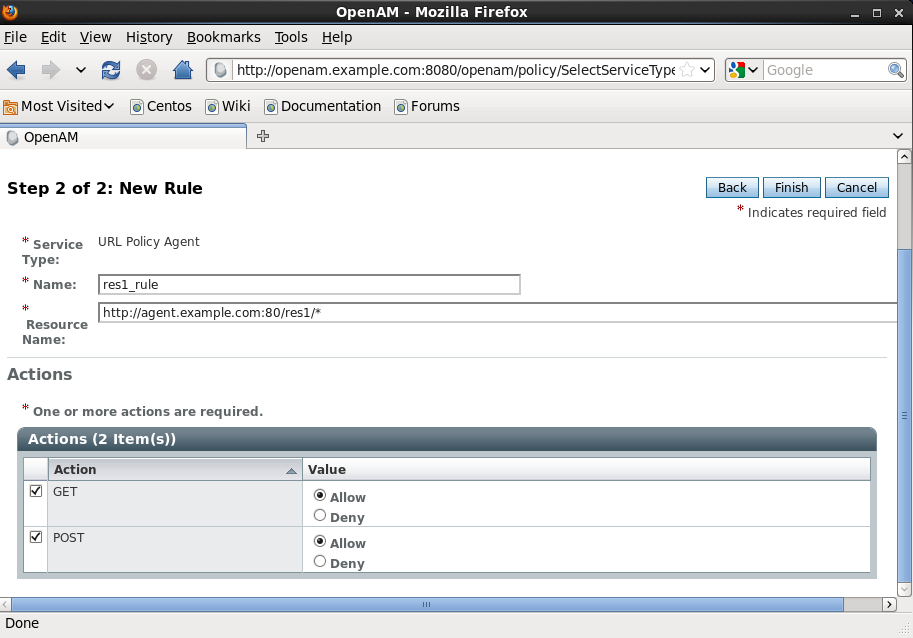
Press the Policies tab and click the New Policy button. Name it res1_policy and Click New in the Rules section. Specify a Service Type (for example URL Policy Agent) and click next. Setup-up the rule according to the screenshot and press Finish.
-
Go to the Subjects section and create policy subjects pressing the New button. Select OpenAM Identity Subject on the Select Subject Type screen and press Next. Name the created subjects res1_subjects, add the users that you want to have access to res1/* resources and press Finish.
-
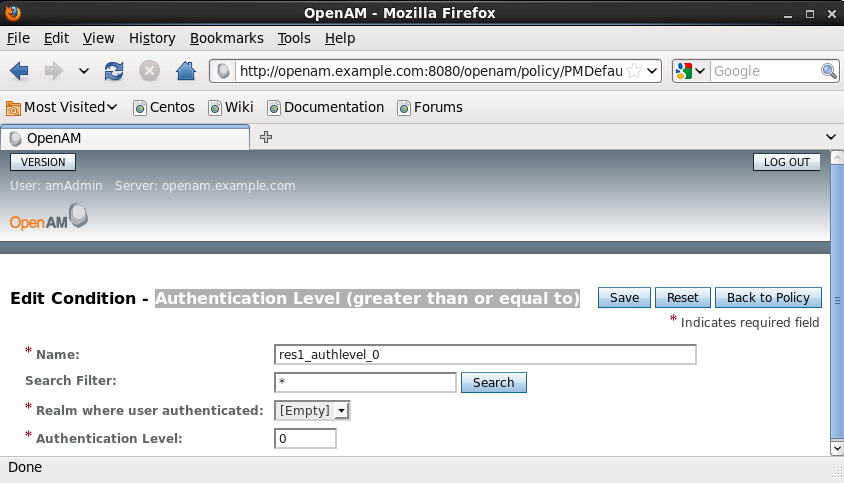
Go to the Conditions section under Policies and add a condition, name it res1_authlevel_0 and set its type to Authentication Level (greater than or equal to) and its Authentication level to 0 (zero). Your condition setting should looke like this after saving:
Your policy should look like this. Don’t forget to save it!
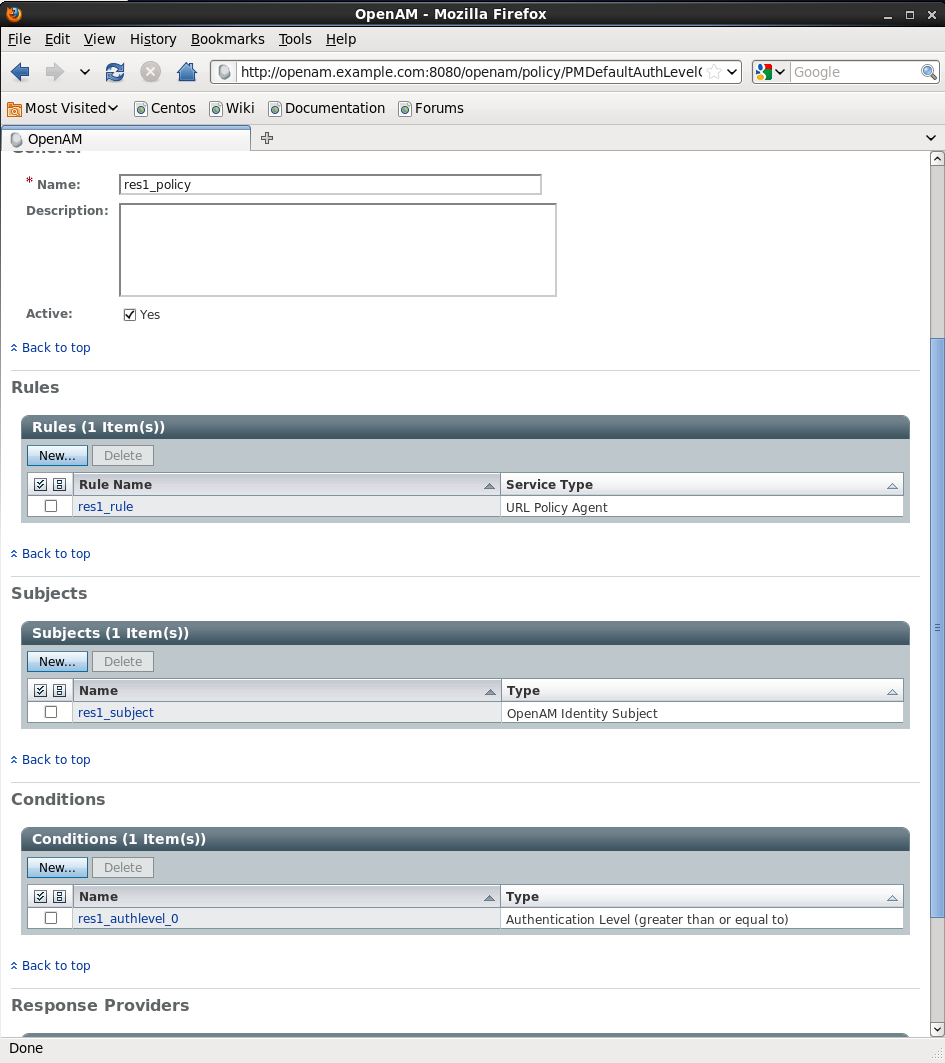
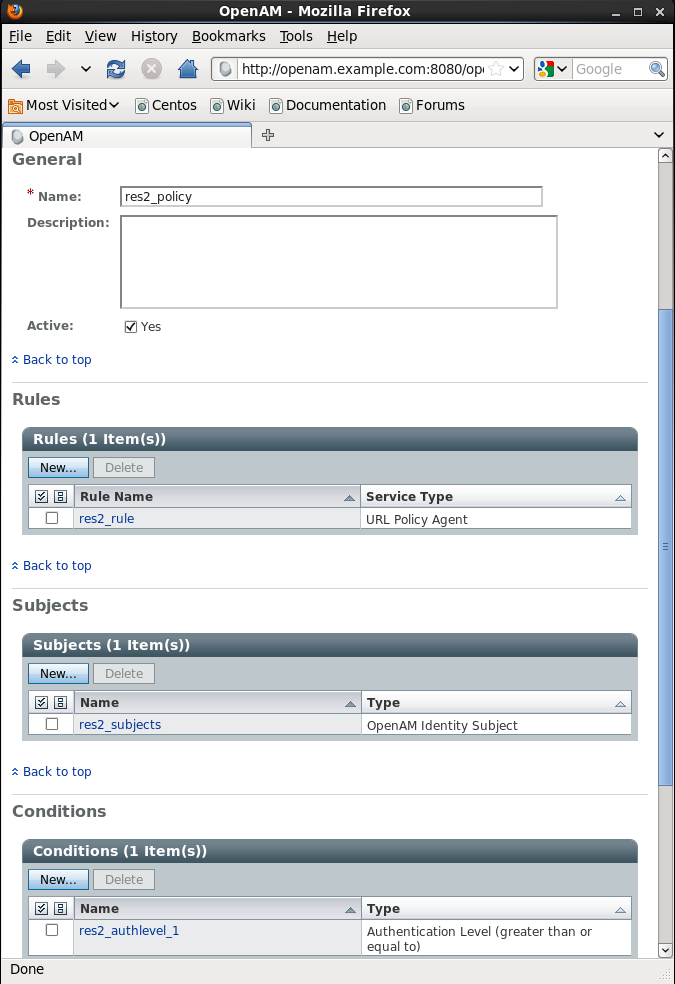
- Set up a res2_policy for the second resource according to steps 5-7 that you used for res1_policy with the following differences. Name the Rule rule_res2, the Subjects res2_subjects. Call your condition res2_authlevel_1 and set its Authentication Level to 1. Your final policy screen should look like this:
Verifying the setup
res1 -> res2 upgrade
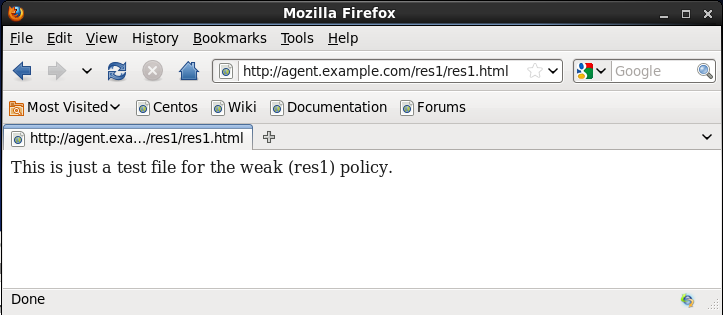
- Open the browser on the client machine and access resrouce res1/*, for example http://agent.example.com/res1/res1.html. You should be asked to authenticate (against your default authentication chain DataStoreChain). The res1.html is displayed after successful authentication. E.g.
-
Check out the iPlanetDirectoryPro cookie that you received. The value of mine is set to AQIC5wM2LY4SfczuoHbZDV-a2LiiLCQ_7BA4P3j9R8pufic.*AAJTSQACMDE.*.
-
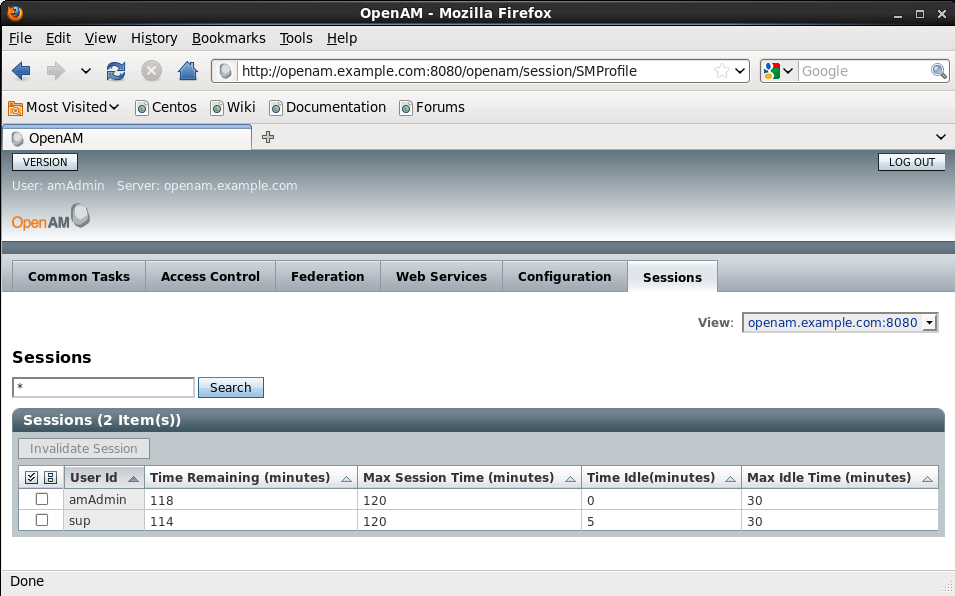
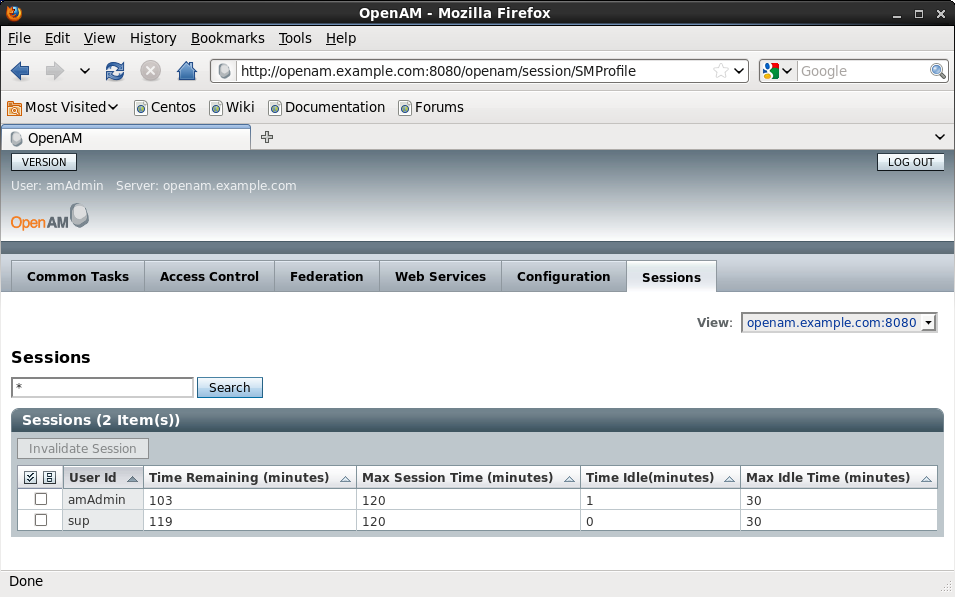
Check out also the session on the OpenAM side. After logging in to OpenAM select the Session tab and examine your session (e.g. the time remaining). See the screenshot from my system:
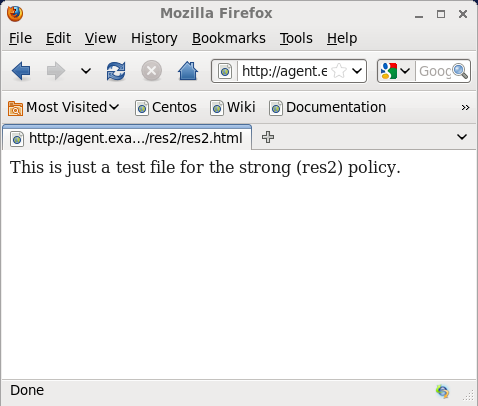
- Access resrouce res2/*, for example http://agent.example.com/res2/res2.html. You should be asked to re-authenticate. It should present you an LDAP specific login in addition to what you used for res1 (the DataStore specific module instance associated with your authentication chain that you assigned to the Organization Authentication Configuration). The res2.html is displayed after successful authentication.
NOTE: You might experience an Authentication Failed error due to OPENAM-2997 at this point. The issue is not consistently reproducible though. Restart of the application server may help here. Or, you could change your module instance from LDAP to DataStore, if your objective is to purely examine the session upgrade feature. We have experienced no similar problems with the DataStore.
- Accessing res1 or res2 resources doesn’t ask for log-in anymore. Your cookie should have been changed. The value of my iPlanetDirectoryPro changed to AQIC5wM2LY4SfczM6AUAk7P6zWm5l3sqgjh53MqhJF975LM.*AAJTSQACMDE.* and my session information got updated like this. You see the time remaining updated.
res2 -> res1 no upgrade
- You can try the same procedure vica versa. First accessing res2/* and then res1/*. Accessing res1/* should not require an extra login from you and your cookie and your session information should stay unchanged too.
Resources
Defining OpenAM Authorization policies: http://openam.forgerock.org/openam-documentation/openam-doc-source/doc/admin-guide/index/chap-authz-policy.html
OpenSSO Session Upgrade: http://docs.oracle.com/cd/E19681-01/820-3740/adrcg/index.html
Upgrading OpenSSO sessions: http://docs.oracle.com/cd/E19681-01/820-3885/gbaqz/index.html