




Running ExtJS App as a Liferay Portlet: Part 2

1 min read10.1.2018
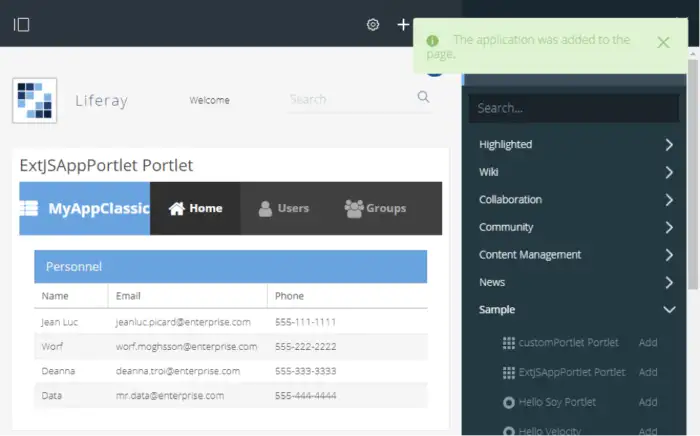
How to create Liferay portlet with ExtJS app in it
Introduction
Hello,
In this blog post, I would like to show you the next steps for running JavaScript apps (based on ExtJS framework) in a Liferay Portal.
In my previous blog post, Running ExtJS App as a Liferay Portlet: Part 1, I showed you how to modify an ExtJS App to run in specific page element. In this blog post, I’ll show you what you need to do on Liferay’s side to prepare environment to integrate ExtJS apps, and finally, to deploy and run those apps with Liferay.
The instructions in this blog post assume you’ve read the previous blog post and built the application to be imported. We will use a Sencha ExtJS classic toolkit in the instructions. Note that the instructions are the same for both the classic and the modern toolkits.
Liferay
Prepare the Environment
Liferay IDE
Download and install Eclipse Neon.3 + Liferay IDE 3.1.2 GA3 or the latest version from here: https://web.liferay.com/downloads/liferay-projects/liferay-ide.
Java
We will need Java JRE and Java JDK in version 1.8.* You can download it from here: http://www.oracle.com/technetwork/java/javase/downloads/jre8-downloads-2133155.html and from here: http://www.oracle.com/technetwork/java/javase/downloads/jdk8-downloads-2133151.html.
Java 1.9 is not supported yet.
Liferay Portal
Download Liferay Portal Bundled with Tomcat from here: https://www.liferay.com/downloads.
Copy the folder with production build of your ExtJS app into Liferay portal’s webapps folder inside the tomcat-* folder.

Create a Liferay Portlet in IDE
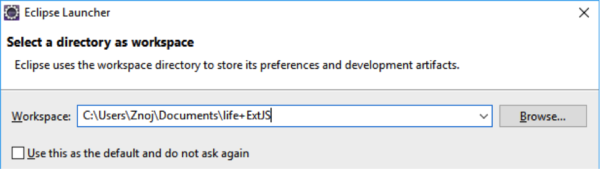
Create a new workspace.
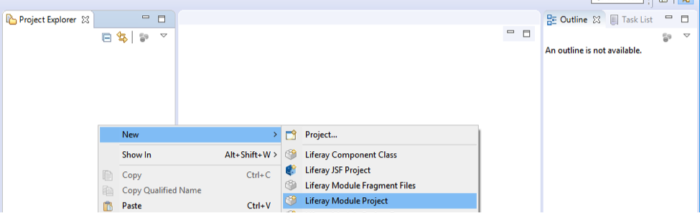
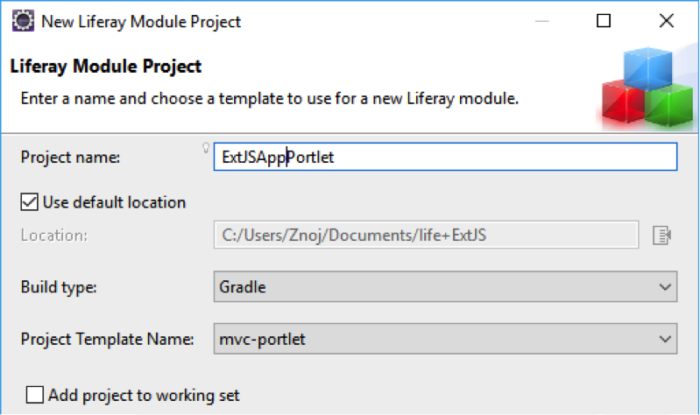
Next, we need to add new project. Choose New > Liferay Module Project to create a new Liferay portlet. The New Liferay Module Project dialog box displays.
Enter the following information in the respective fields:
- Project Name: ExtJSAppPortlet
- Build type: Gradle
- Project Template Name: mvc-portlet
- In the Component Class Name field, enter ExtJSController. In the Package Name field, enter com.sample.extjsapportlet.
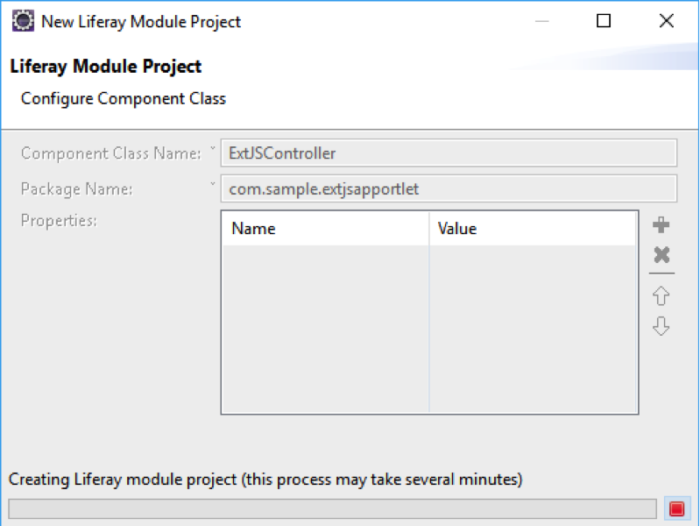
Lifeway creates the module project.
Edit the Liferay Portlet to Contain the ExtJS App
When the new portlet is ready, edit the src/main/resources/META-INF/resources/view.jsp file.
We will also add styles for our ExtJS app and div for rendering the app into it.
The div class name needs to be the same as the one in the ExtJSApp Ext.Create function. Use the name we chose in the previous blog post, extJsAppDiv.
<link rel="stylesheet" href="/MyAppClassic/classic/resources/MyAppClassic-all.css"/>

<script type="text/javascript" src="/MyAppClassic/classic/app.js"></script>
<div class="extJsAppDiv"></div>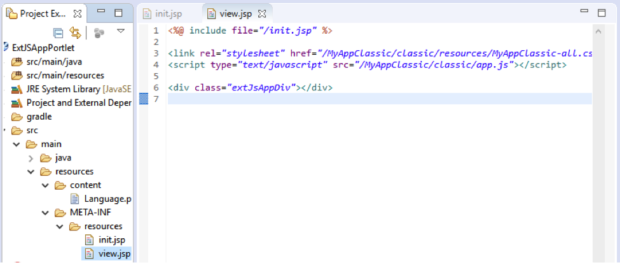
After linking the app and its styles and setting div with a proper name, you can deploy the portlet by choosing Gradle Tasks > “PortletName” > build > deploy in the right panel of Liferay IDE.
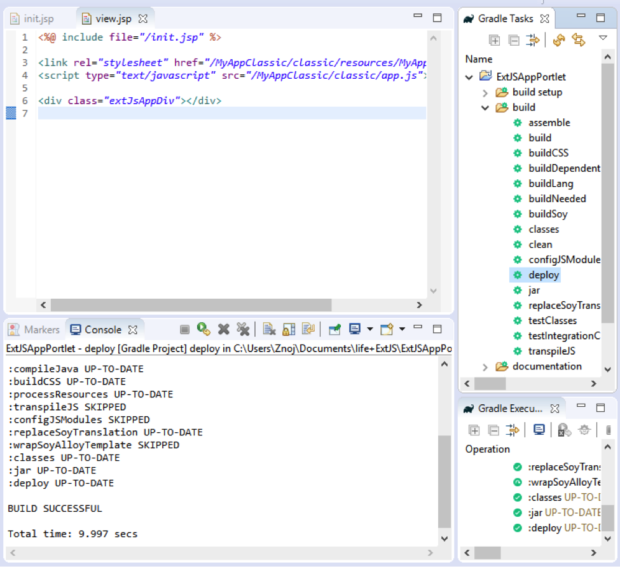
When our portlet is successfully deployed, it is prepared for the Liferay Portal.
Run Liferay Portal in IDE
Make sure that you have Java JDK installed and the JRE from the JDK folder defined in Liferay IDE as Java\jdk1.8.x\jre. If not, JDK will not be detected when running the server from Liferay IDE, and the portlet will not be processed properly by Liferay Portal.
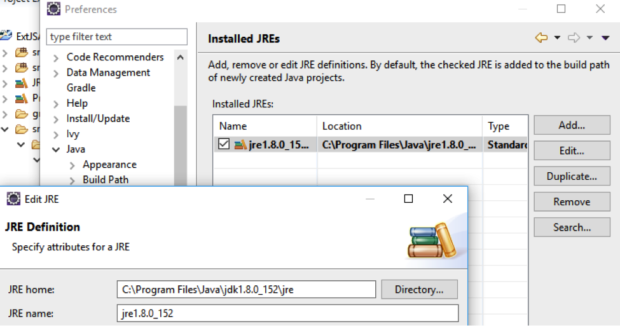
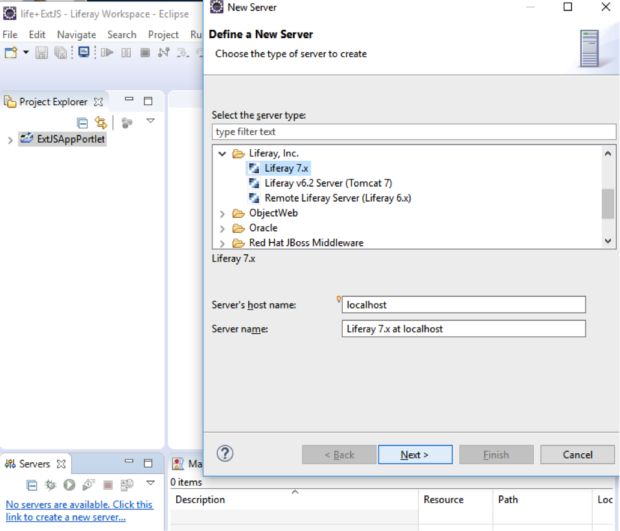
To run Liferay Portal from Liferay IDE, we need to add Liferay Server Liferay 7.x. You can do this by selecting the No servers are available… link in the Servers panel, or from Windows > Preferences > Server > Runtime Environment > Add:
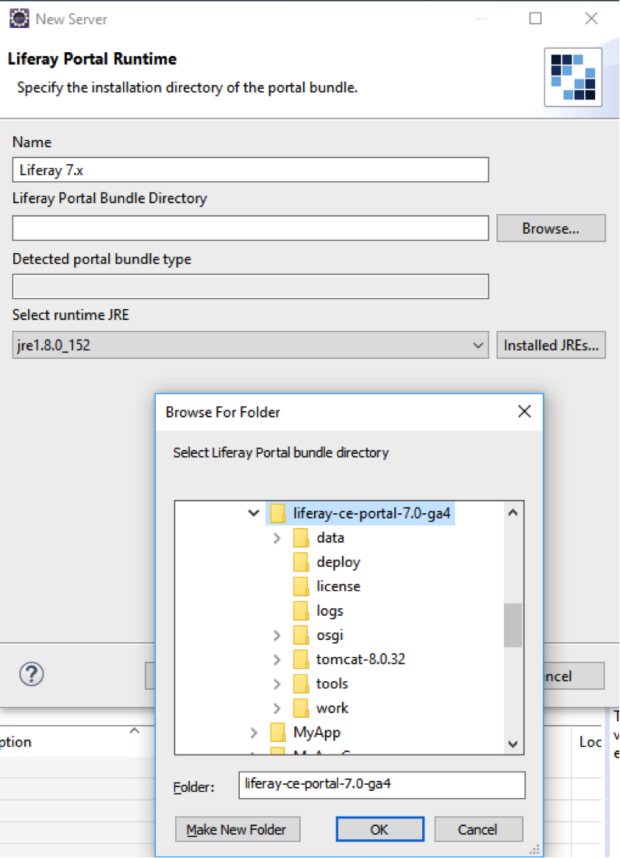
Set the path to the Liferay Portal directory that just downloaded and unpacked:
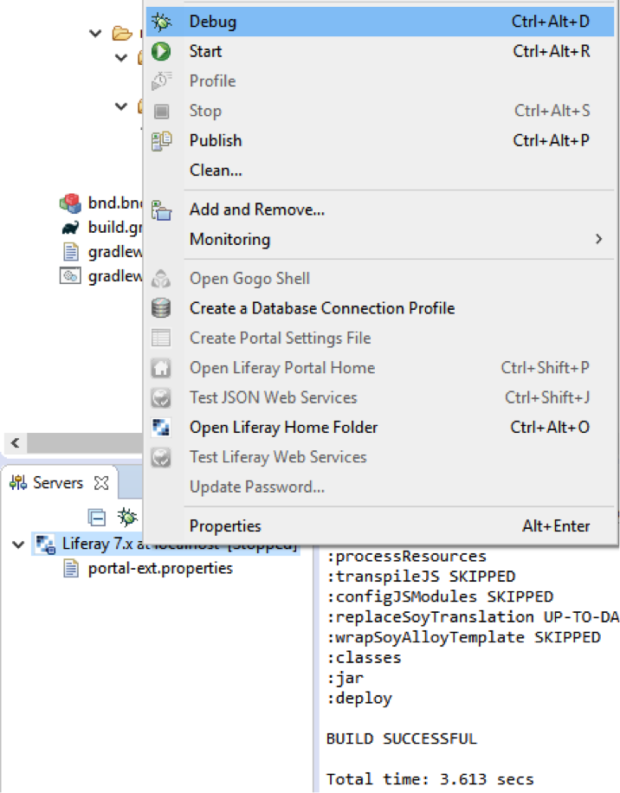
Now you can run or debug the server from Liferay IDE:
Portlet with ExtJS App in Liferay Portal
Find the deployed portlet (.jar file)in "workspace directory"/"PortletName"/build/libs and copy it into "Liferay Portal folder"/deploy.
When the server is running, the .jar file is automatically processed by the server. When the server is finished processing the file, the file is removed from deploy folder, so don’t be surprised if it disappears.
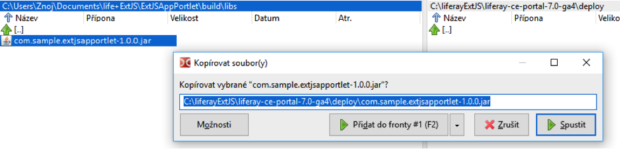
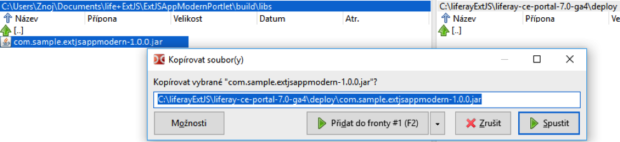
You can find information about processing in Liferay IDE console when you run Liferay server from there:

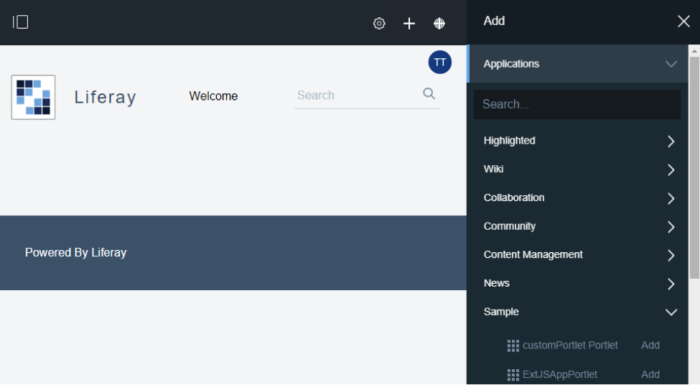
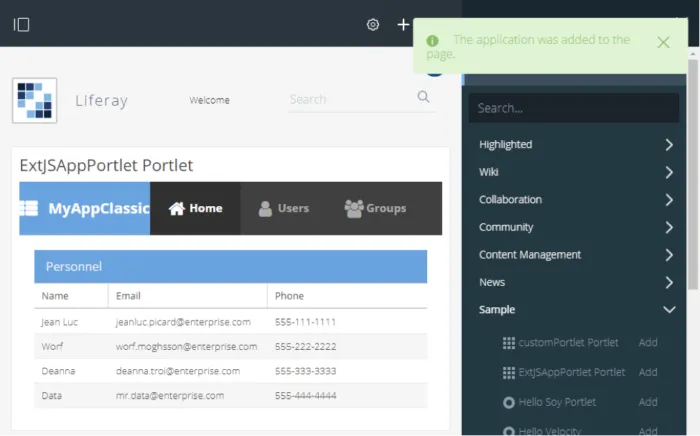
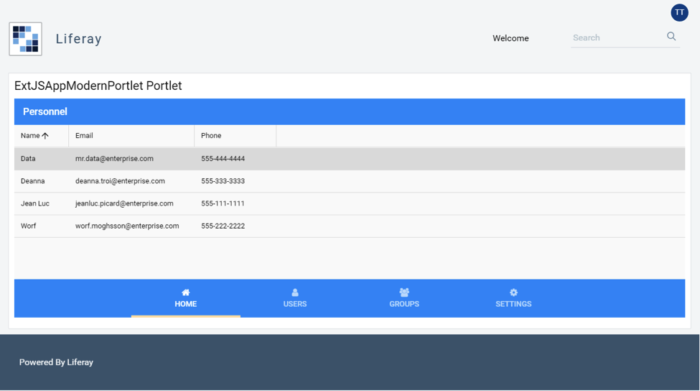
After processing deployed portlet file, find the portlet in Applications > Sample in running Liferay Portal and you can have ExtJS app running this way in Liferay.
Conclusion
In this article, we modified ExtJS app to run in a specific page element of the web site. We created a new custom portlet in Liferay IDE with a modified ExtJS app that was easily imported into Liferay Portal. Then we ran ExtJS app (classic or modern toolkit) inside Liferay Portal’s portlet.
A limitation of this solution is we cannot run more than one ExtJS app on a web page as we can in a Liferay Portal. The ExtJS app cannot be modified in the portlet, because it was already built.
Since ExtJS apps can be pretty complex, it may be easier at first to not have more than one ExtJS app on one web page.
Stay tuned for my next blog post, Running Simple ExtJS Code Inside Liferay Portlets, where I will figure it out.